In this publication10 photos
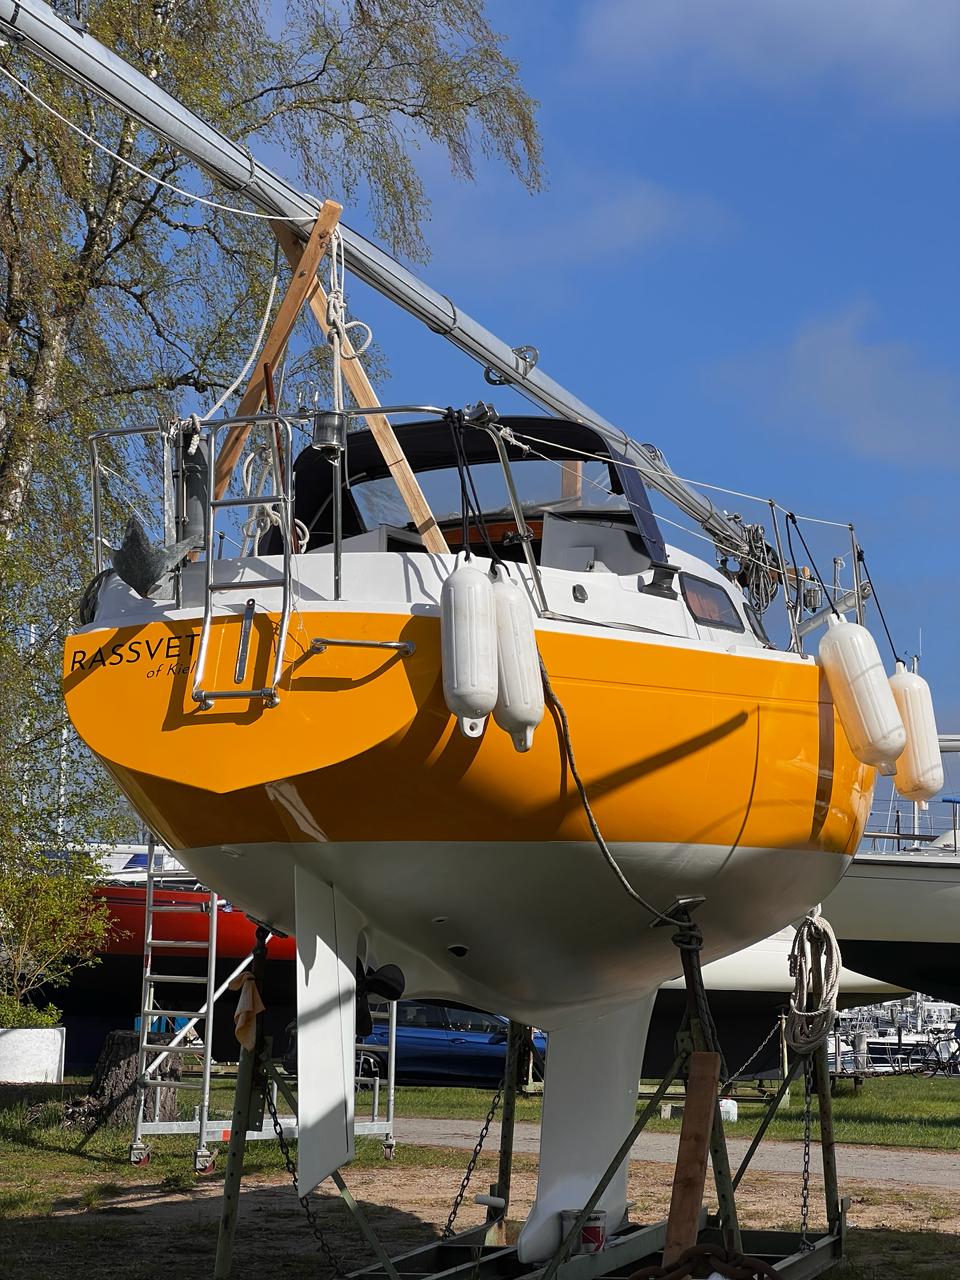
The keel provides the righting moment, returning a heeled yacht upright. Massive metal though it is, it needs attention beyond the occasional lift-out.
A bolted keel always has a hull joint, working under load. The hull flexes; the keel takes impacts and vibration. Rigid filler won’t settle it forever. Epoxy eventually cracks, water reaches metal and quietly does what water does.
Simple principle: watertight and flexible.
My experience
Three years ago, soon after purchase and a grounding, I saw rusty streaks. The yard serviced the joint and keel fastenings: €1,200.
Next year, rust elsewhere after another gentle touch. Free repair. Again this season. Not a one-off, or a miraculous repair meant to survive everything. I need to handle this joint myself, or every stain becomes a paid news bulletin.
How I treat the joint
Step 1. Remove old sealant, open to clean metal below and sound GRP above. No patches of barely attached old material. Dremel worked well.
Step 2. Clean and degrease. I used alcohol and compressed air.
Step 3. Sika Primer 206 G+P for adhesion to keel steel and hull GRP. Don’t wait after cleaning: bare metal oxidises quickly.
Step 4. After thirty to sixty minutes, fill with Sikaflex 291i or 292i. A continuous, flexible seam without voids.
Step 5. Once cured, lightly fair the sealant. Restore epoxy primer damaged around the keel edges, but don’t coat the sealant itself with epoxy. Antifouling only over it.
Rust on the keel
Separate rusty spots too: a touch of bottom, overenthusiastic sanding last season. Whatever caused it, protection needs renewing.
My sequence:
1. Clean back to bare metal.
2. Rust converter.
3. After treatment, key with an abrasive pad and apply epoxy primer. Repeat to four or six coats.
4. Then antifouling.
Almost exemplary this time, except I remembered rust converter after the first primer coat. Now observe, call it a field trial, and get the order right next season.
#service
Original and discussionOpen post in Telegram ↗